Keeping with the spirit of the season, I thought it appropriate to post a recently completed project we did at the lovely mid-century Church of Christ, Scientist in Evanston.

This was not our first time assisting the terrific folks at the Church, and once again the Building Committee provided invaluable assistance reserving spaces in their busy parking lot and making sure all of the different trades were properly sequenced.
After Rick & Pete Esposito at Esposito Construction completed their window restoration work, we followed on their heels and removed, primed and re-caulked over 1200 linear feet of window framing. Then we dove into rebuilding the severely deteriorated rear masonry entry.
The railings were fastened into the landings and the steps, and over the decades these metal pieces had rusted and expanded and blown apart the concrete. In addition, the design of the steps and landings encouraged water and melting snow to roll down and into the brick walls year after year, and this had taken a heavy toll on their integrity.
The walls had been tuckpointed numerous times over the decades but there was no evidence that the mortar joints had ever been ground out…so each application of mortar performed worse than the one applied prior, the mortar joints got thicker and fatter, and the wall looked very unattractive. (See below.)
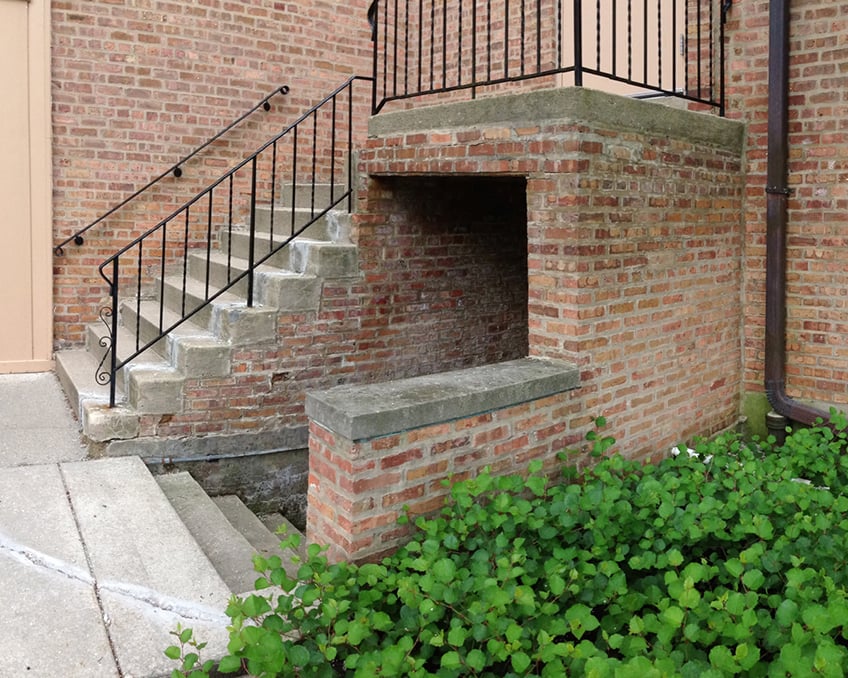
We counted four separate applications of surface applied mortar on these walls but no evidence of grinding.
As the demolition of the concrete and brick progressed, we discovered significant deterioration of the load-bearing masonry walls. Through decades of benign neglect and freeze/thaw action, nearly all of the original mortar used to construct these walls had been reduced to rubble and dust (see below).
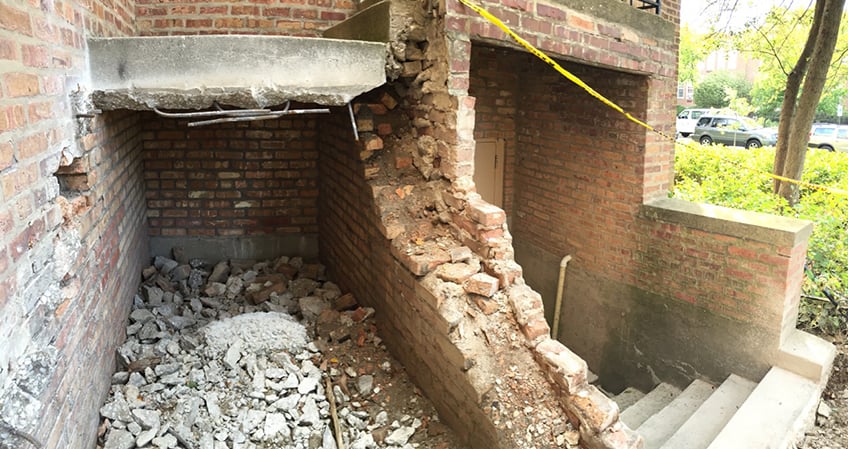
Once the concrete steps and landing were removed, we could observe the severity of the masonry wall's deterioration. Nearly all of the mortar had eroded into powder, and many of the bricks had been reduced to rubble.
With input from the Building Committee, a modified game plan was devised. All of the concrete landings and brick support walls were removed completely, and new 12" brick walls were constructed using one of our favorite workhorse bricks, the Crawford Standard (manufactured by BrickCraft in Indiana). No cinder blocks were going to be used in this project; these walls were meant to last!
We installed new support steel over the basement passageway to properly carry the weight of the top landing, and we made sure stainless steel drip edges and through-wall flashings were provided to direct residual moisture out of the walls at critical points.
The new walls were topped off with quarried Indiana limestone capstones (pre-caste capstones would have saved the Church hundreds of dollars in material costs but would never age as gracefully as genuine Indiana limestone).
After the brickwork was completed, the wall was allowed to cure for several weeks before the new concrete steps and landing were formed and poured.
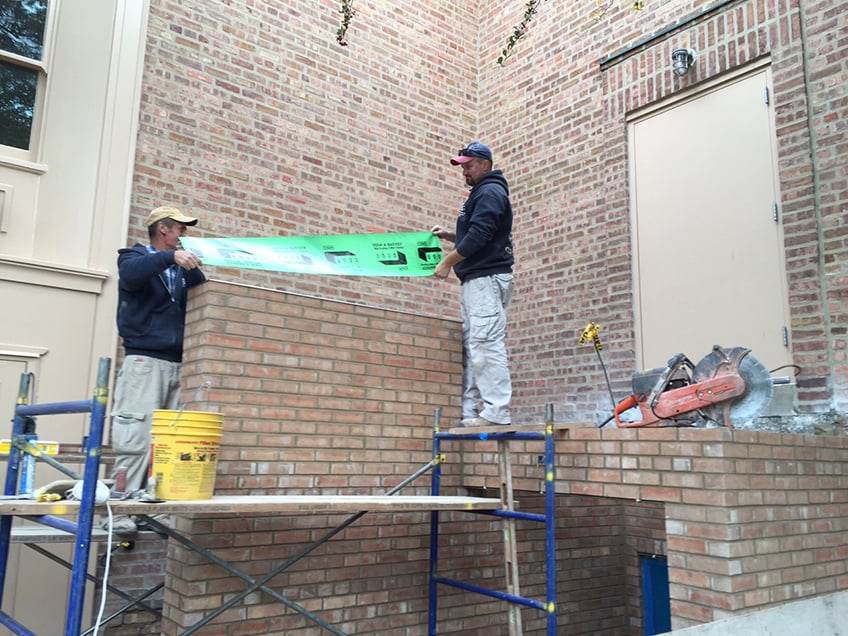
Drip edges and flashing being placed on a portion of the newly rebuilt wall.
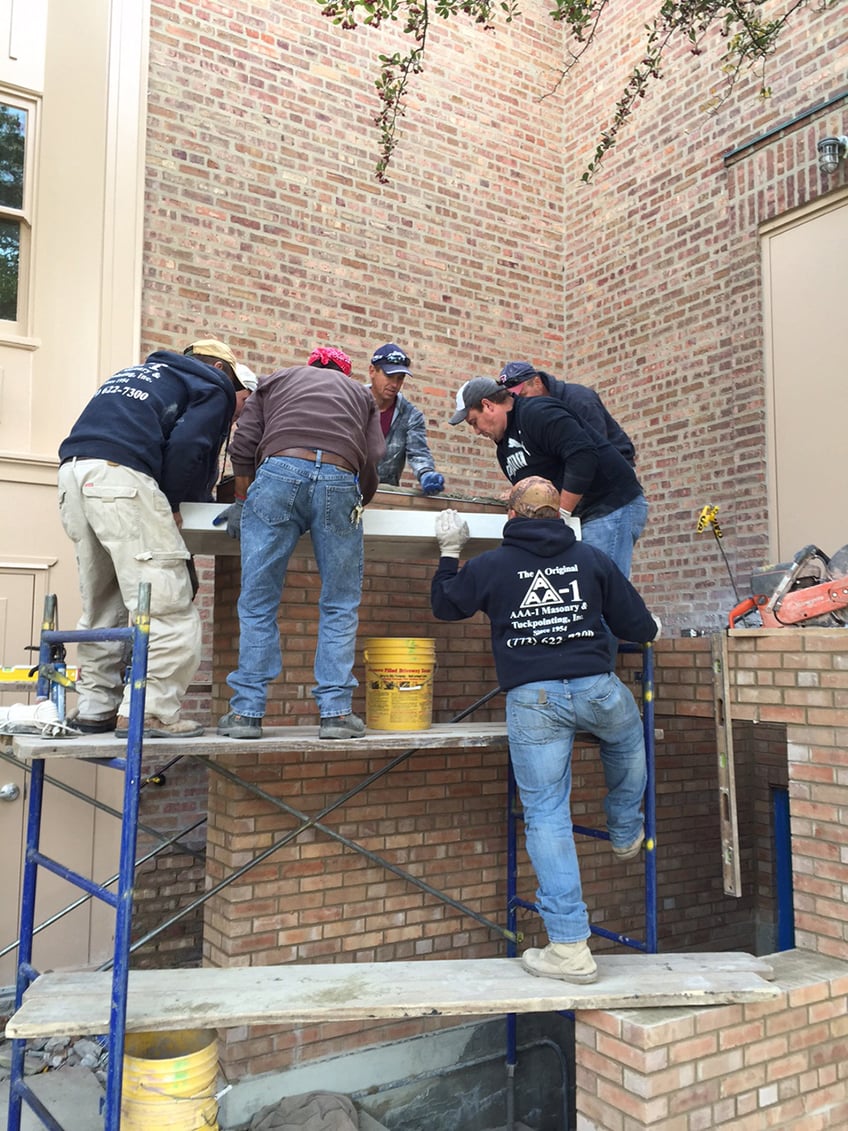
400-pound quarried limestone capstone being set in place.
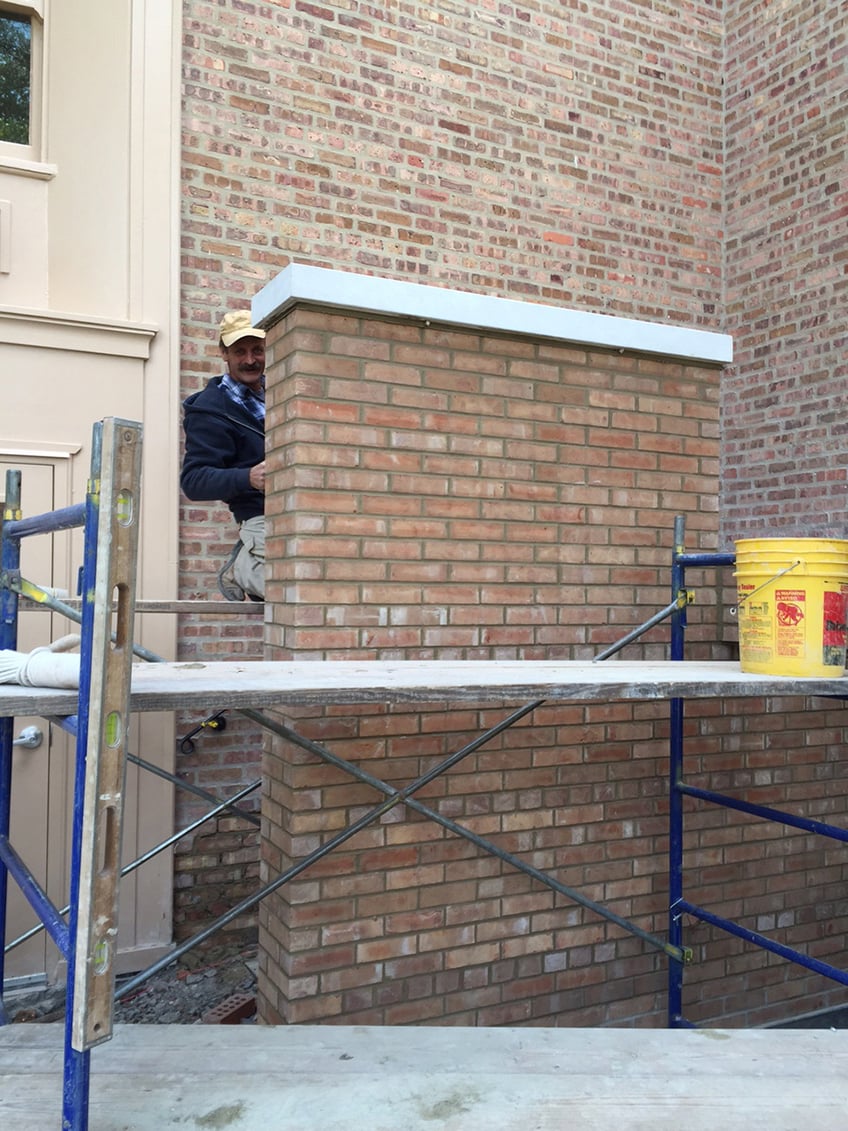
Looking great!
Wishing all of you the happiest of Holidays and an exciting New Year.
—Rob
Post: Expression of Gratitude
Friday December 11, 2015
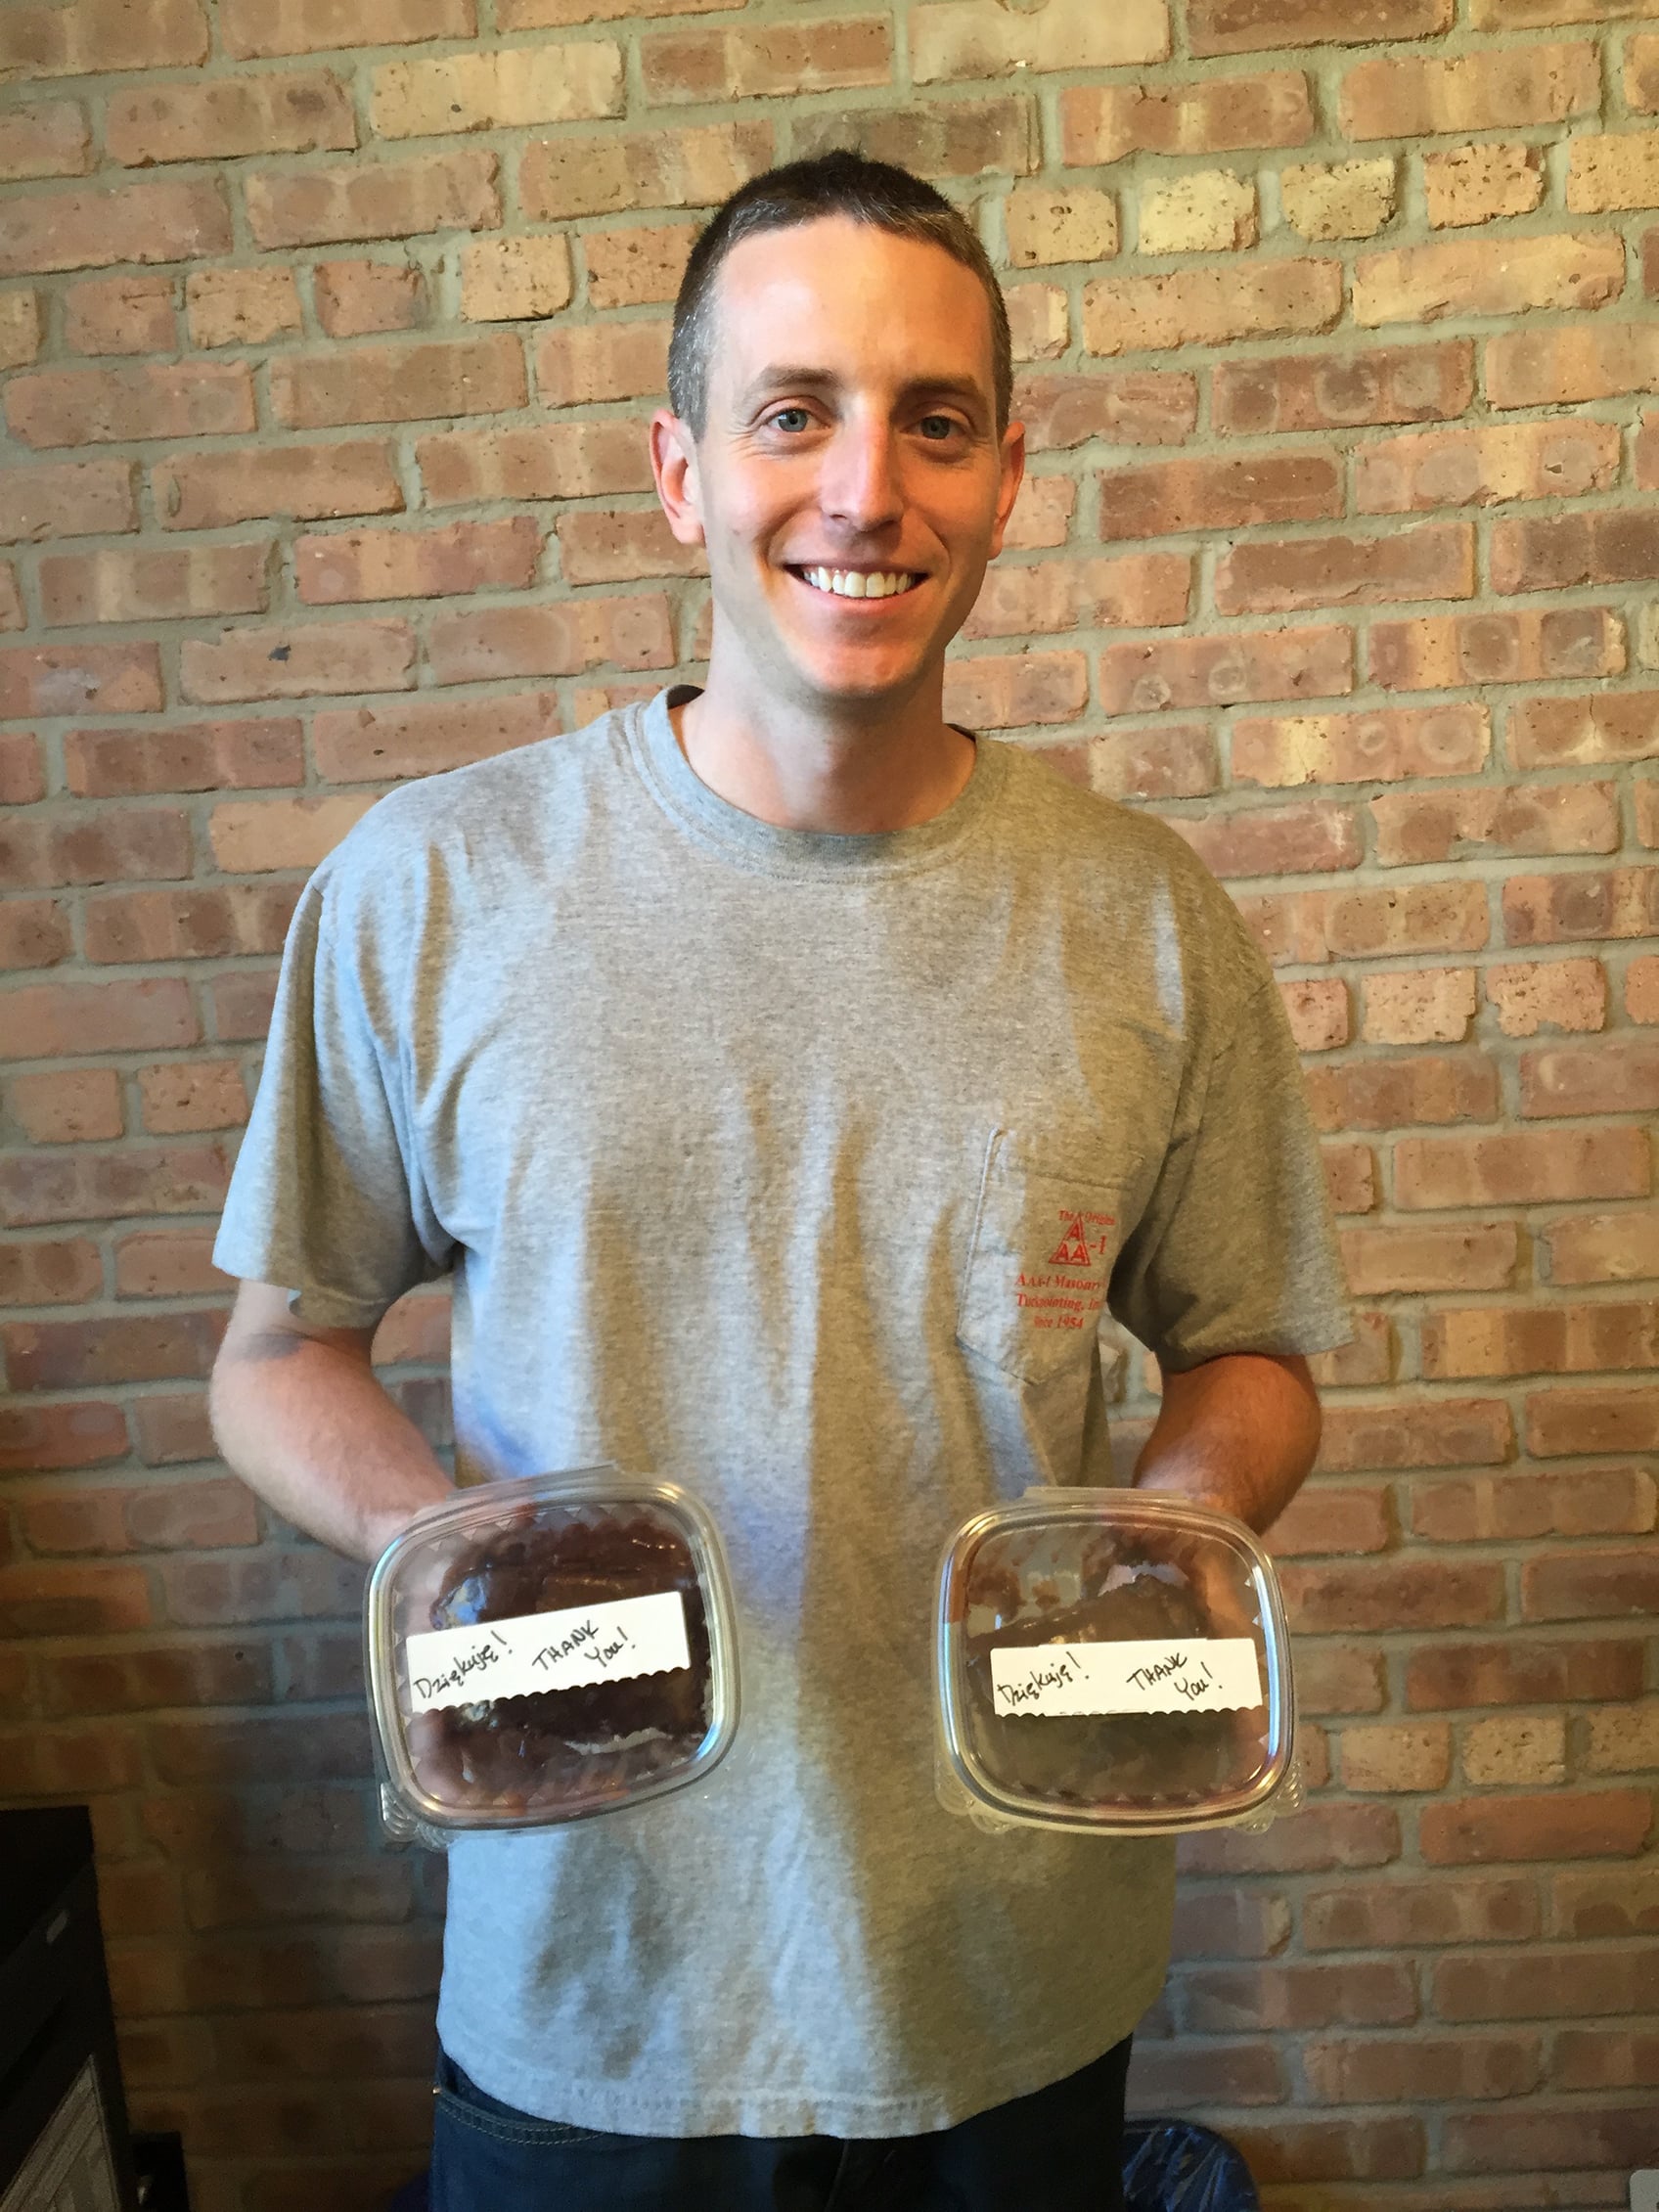
We often receive expressions of gratitude and thanks from our clients. Usually these come in the form of hand-written notes and glowing reviews on social media sites like Angie's List. We try our very best to exceed client expectations, which helps to explain why we perform hundreds of masonry restoration projects every year for condominium associations, property management companies, home owners, REITs, schools, and places of worship. Once in a while, though, the gratitude we receive really bowls us over; case in point:
This week project manager extraordinaire, Dan Kruk, returned to the office all smiles. One of his clients had been so impressed with the quality of the two-month-long parapet wall project just completed at her condominium building that she baked cookies for all of the masons! Wow! What a wonderfully personal and heartfelt expression of gratitude. (And, yes, those cookies were delicious!)
For work done right the first time, give us a call at 773-622-7300 (City) and 847-491-9700 (Suburbs). We'll do our best to make your experience a pleasant one (cookies optional).
-Rob
Post: The Importance of Conducting Annual Inspections
Wednesday November 25, 2015
As the end of the work season approaches, I start the process of reviewing and archiving the thousands of photos taken over the past year: photos of site conditions, projects in process, and plenty of “before” and “after” photos. It takes many days to sort through these photos, not only because of the sheer volume of images but also because I need to consider whether a particular photo may be relevant in the future. (Some of our clients have been with us for decades and having older photos of their masonry structures often prove helpful.)
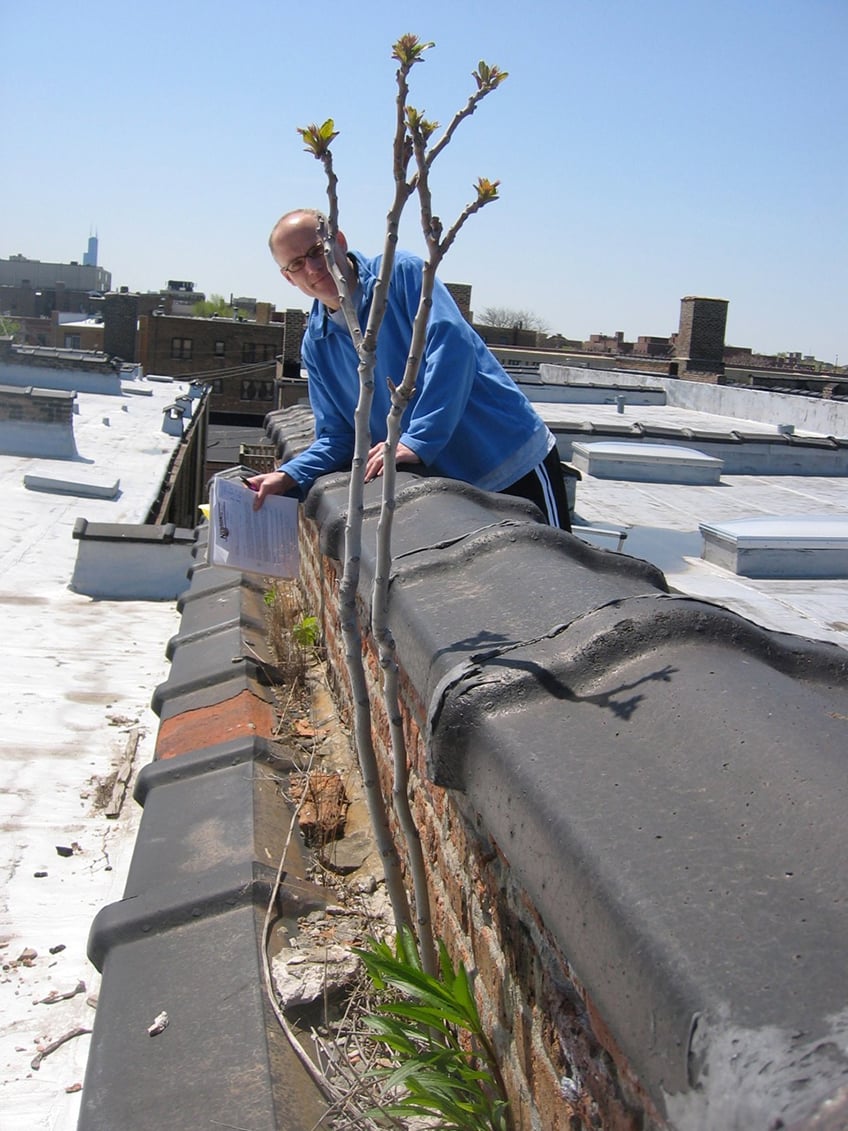
Well, here's one from the archives that really cracked me up. It clearly answers the question I am often asked by new clients: “How often should I inspect my parapet walls?” The answer to that question is annually.
This photo above taken in the Bucktown neighborhood of Chicago shows how failing masonry and open mortar joints on a deteriorated parapet wall 50 feet above the ground has served as ideal growth medium for a TREE. Yes, a tree!
If a tree can take root in the side of your building’s parapet wall, then chances are very good your building could use some masonry TLC…and quickly! In this particular case the tree roots were over one foot long and had grown deep into the wall’s mortar joints, which helped to explain how wind-driven rain was able to infiltrate the masonry and damage the top-floor ceilings and walls. Consequently the wall was dismantled and rebuilt, and the water issues were resolved.
In the course of our work day we wear many hats: building advisors, home inspectors, licensed masons, project managers and, occasionally, landscape architects. We enjoy helping owners diagnose and address their masonry issues and in the process teaching them about how to maintain their masonry structures and avoid situations like this one.
Wishing you all a safe and happy Thanksgiving!
—Rob
Post: Proper Site Protection Worth Every Cent
Thursday November 5, 2015
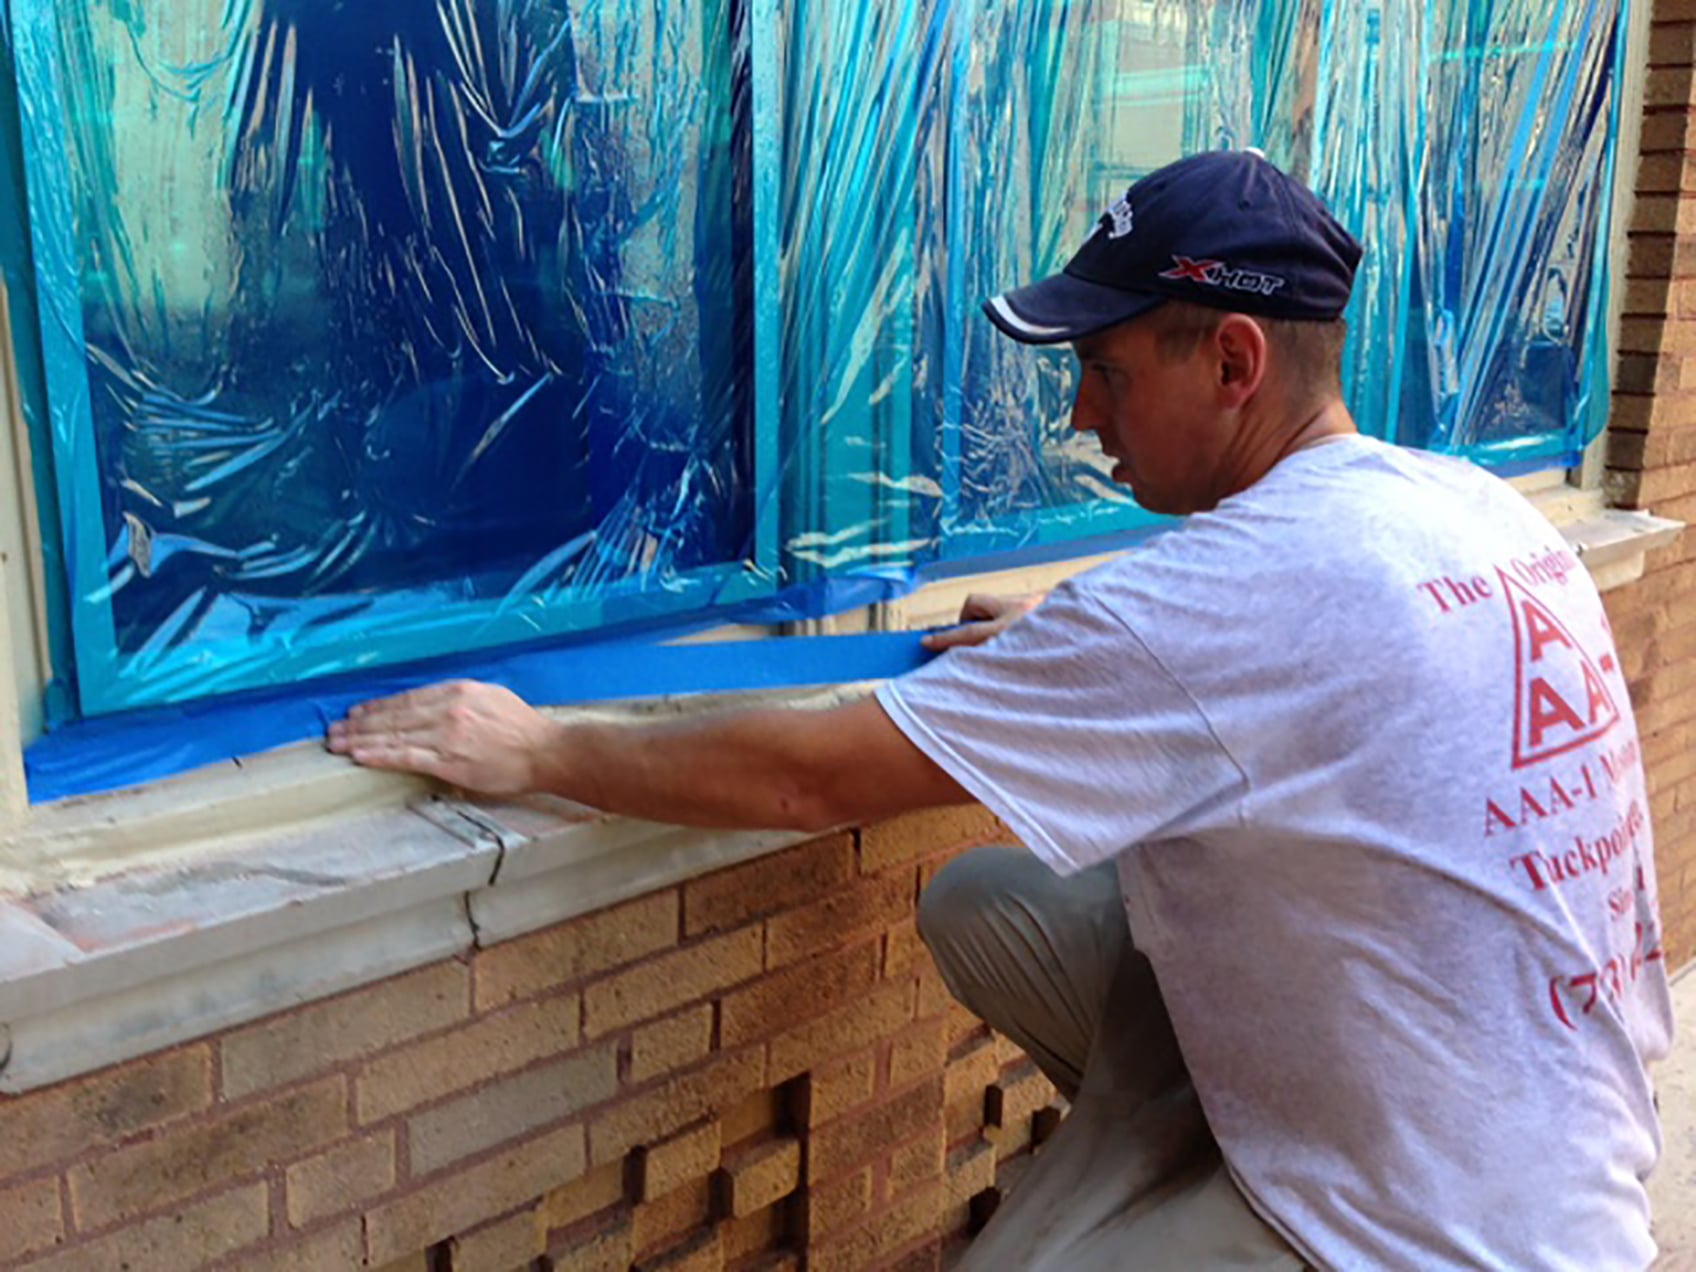
This week the men have been busy working on a parapet wall rebuild and lintel replacement project in Oak Park.
Because the parapet wall and lintels are located upwards of 50 feet above grade in some places, all of the windows within the project area were well-protected with plastic window film and blue tape to avoid the possibility of damage before a single brick was removed.
It costs us more in labor and materials to protect the windows this way, but it reduces the likelihood of damage to the original 100-year-old wood and glass.
It’s one more way we communicate our commitment to professional site protection and workmanship.
Be safe out there.
Thank you,
Rob
Post: Former Dairy Undergoes Masonry Transformation (Part 2)
Saturday October 31, 2015
This is part two of a two part post. Read the first part here.
Back in July, this former dairy looked like the photo at the topon the left. Three months later, I took another photo of the same area (the "after" photo, at the bottomon the right) I tried to get the men to stand about where they were standing in the "before" photo. They did amazing work on this structure. And with the new roof installed you can barely recognize it!
The men rebuilt the 16"-thick north elevation wall on the left and the west elevation wall directly across from me in their entirety using reclaimed common bricks salvaged from the adjacent vacant building purchased by the owner expressly for this purpose!
The numerous door openings seen in the first photo were removed and converted into window openings. The unattractive in-filled brick arches over the windows were removed and new headers made of re-claimed timbers installed. All of the joist pockets at the very top of the walls were removed and new joist pockets created to accommodate the German-made standing-seam zinc roof ... which we learned comes with a 100-year warranty!
Along the southern wall on the right side of the photo, the men dismantled and rebuilt the upper 6 - 8 feet of wall with reclaimed bricks, and per the owner's instructions left the old parging and paint on the wall.
Even with today's digital technology, my camera cannot properly capture the amazing quality of the light and the sense of soaring space in this portion of the former dairy. Walking into this space overwhelms the senses with good feeling. With the even lighting, the pleasing hue of the sandblasted brick walls, the rhythmic spacing of the oversized windows and the 25'-high ceilings, the space seems to vibrate at the right aesthetic frequency. Mission accomplished!


